6.2 Hosting
# Web App Hosting
There are many of options when it comes to hosting your website or web app. When it comes to selecting which hosting it is a matter of what features you need.
If you have static files that you need hosted. This is just having a computer whose ip address is mapped to a domain name and that has a web server program who is listening on port 80 (http) and 443 (https).
Github pages provides this basic level of hosting. It is a place to hold static files that can be delivered to a browser when requested.
The downside to using Github pages is that you are having to put your files inside a repository, which means having an extra folder around your app. That means your files will never be at the root of the site. This can create issues for things like React sites or service workers and the relative locations of files.
For Github, if you had a repository that was sitting at this address:
https://www.github.com/myusername/myreponame
Then the Github pages hosted site would be at this address:
https://myusername.github.io/myreponame
While you can create a more customized location without the folder, you can only make one of these per Github account or you have to pay for a domain name.
Alternatives to hosting on Github pages are services like Netlify and Vercel. They give you a folder at the root level because they create a subdomain for each website. They both have a free level
of hosting too, which is create for developers who want to experiment, host personal projects, or run a portfolio.
Beyond the basic hosting of files, services like Netlify and Vercel will also give you the ability to run things like Redis caches, serverless functions, and more.
With these services you will be able to connect your Github account to a service and get a hosted location for multiple repos from your account. Then you will have URLs that look like
https://cozy-flan-544ba9.netlify.app/ or https://react-giftr-demo.vercel.app/. It will be a unique URL attached to the domain netlify.app or vercel.app and your files will be right at the root
of that subdomain.
Additionally, both of these services give you the ability to run a build script every time you push an update to your Github repo and you can create environment variables to securely store things like private API keys.
# Netlify
For Netlify you would sign up on the Netlify website (opens new window). Pick the free version. You can always upgrade later if you want the other features.
Once you are logged in you will be on your account's team overview page. In the left hand menu, select the Sites link. See the image below for what you see once you select the Sites link.

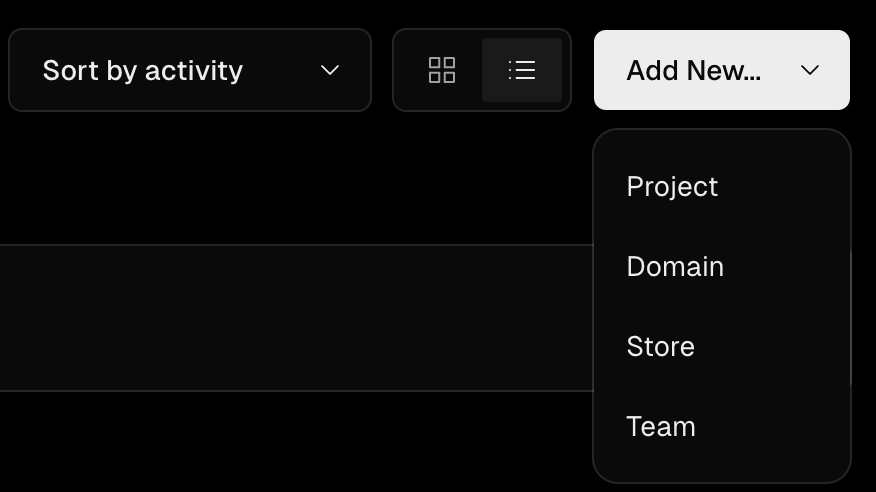
On the Sites page, you can click the Add new Site button on the right side of the screen. From the menu that appears, select the Import a new project option.
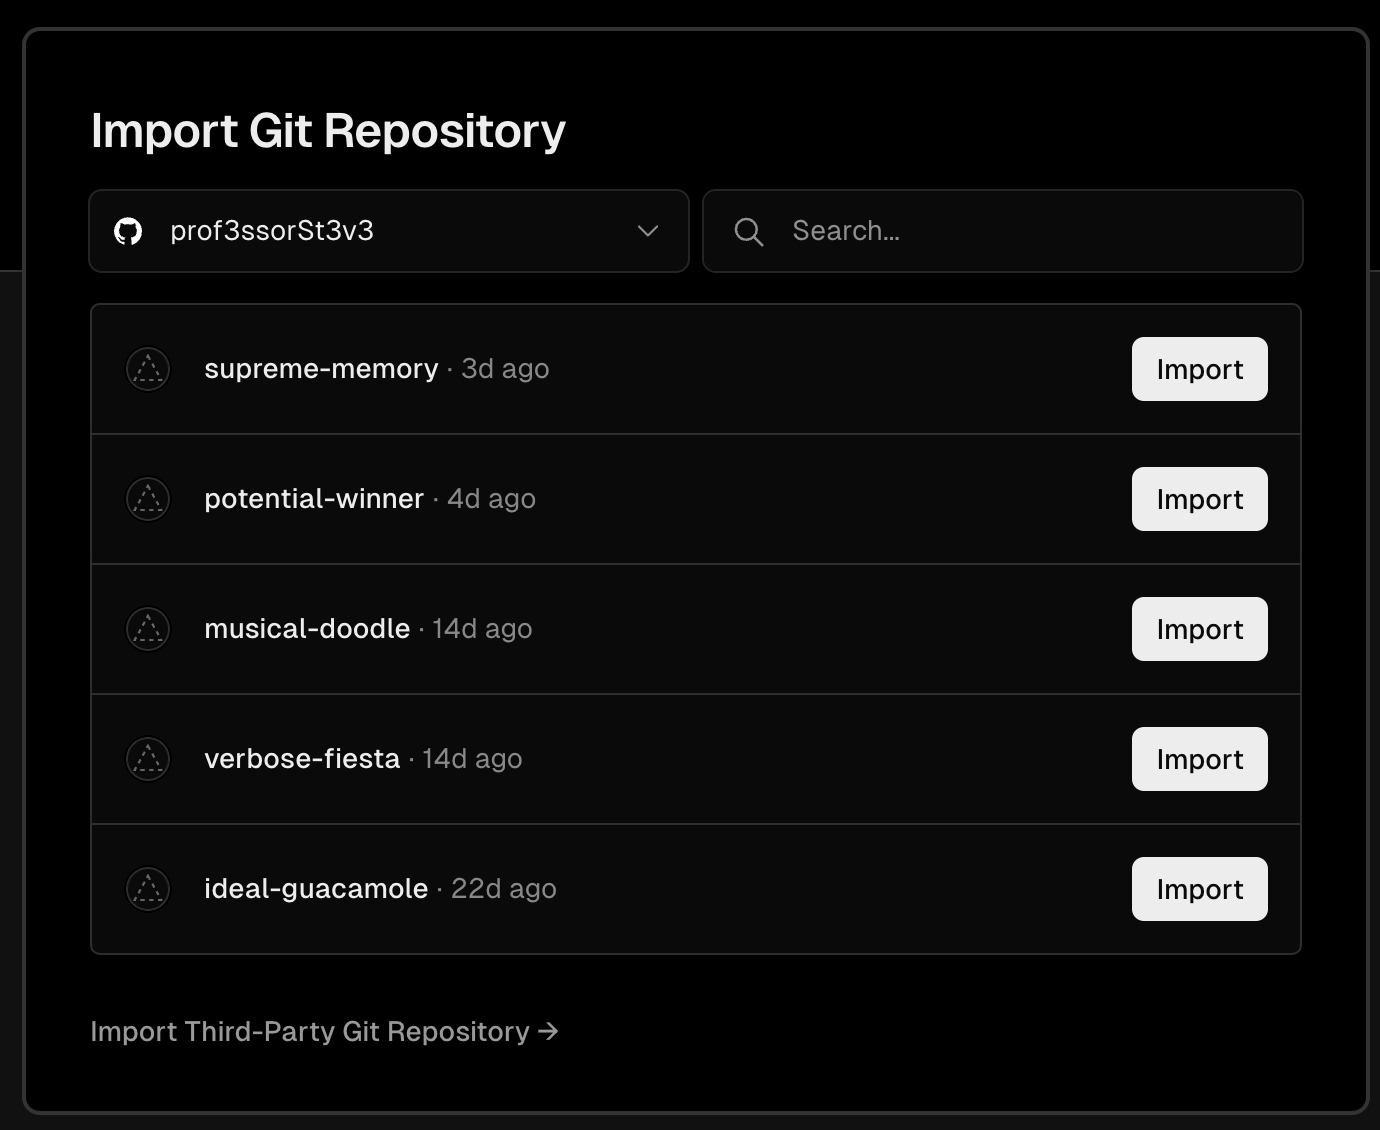
You will be given options for deploying, you should pick Deploy with Github. Github will ask you to authorize Netlify to access your Github account. Then you can select the Github repo that you want
to deploy.
Once you have selected a Repository then you need to define the settings for the deployment. You need to know which branch to use and which folder is the root for your site. It is typically the main
branch and the root folder.
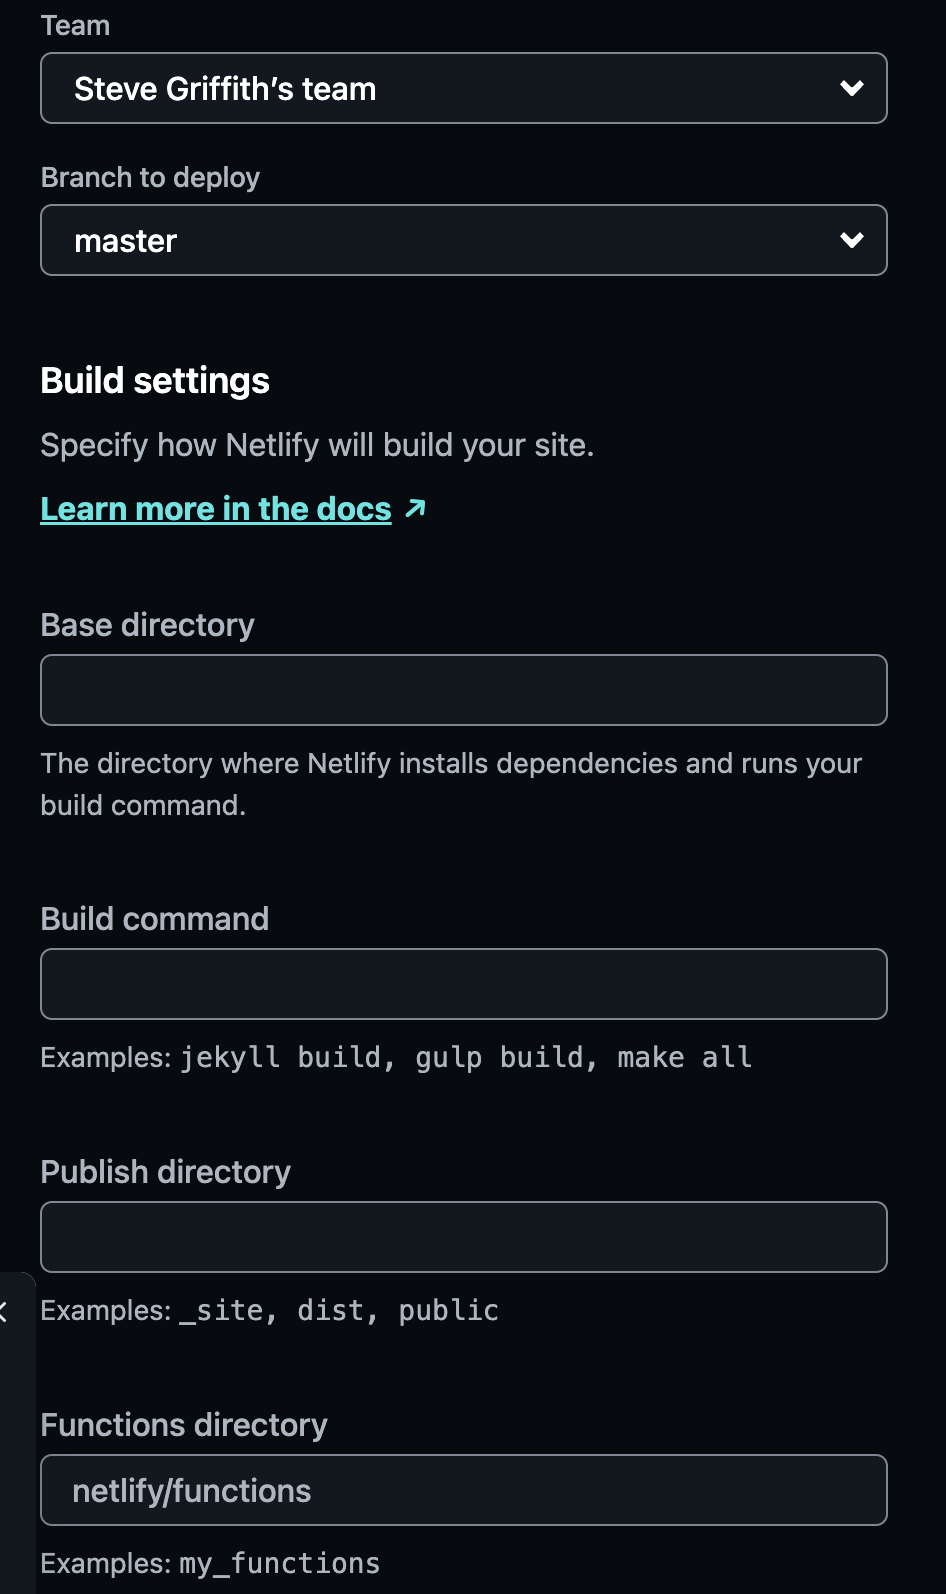
After adding your settings and setting any desired Environment variables, click the Deploy button to start your project's deployment.
After this, each time you push a new commit to the Github repo, Netlify will automatically pull the latest version and deploy it.
As you will see in these videos, you can do some Netlify deployment work through the command line. However, it is probably easier for us and our basic PWAs to simply use the website interface.
# Vercel
For Vercel, start by signing up for an account here - https://vercel.com/ (opens new window). You can signup using your Github account, which is probably the easiest approach.
When you signin you will end up on the Vercel Dashboard for your account. From the dashboard you can click the Add New button and select Project to attach a specific Github repository to your
Vercel account.
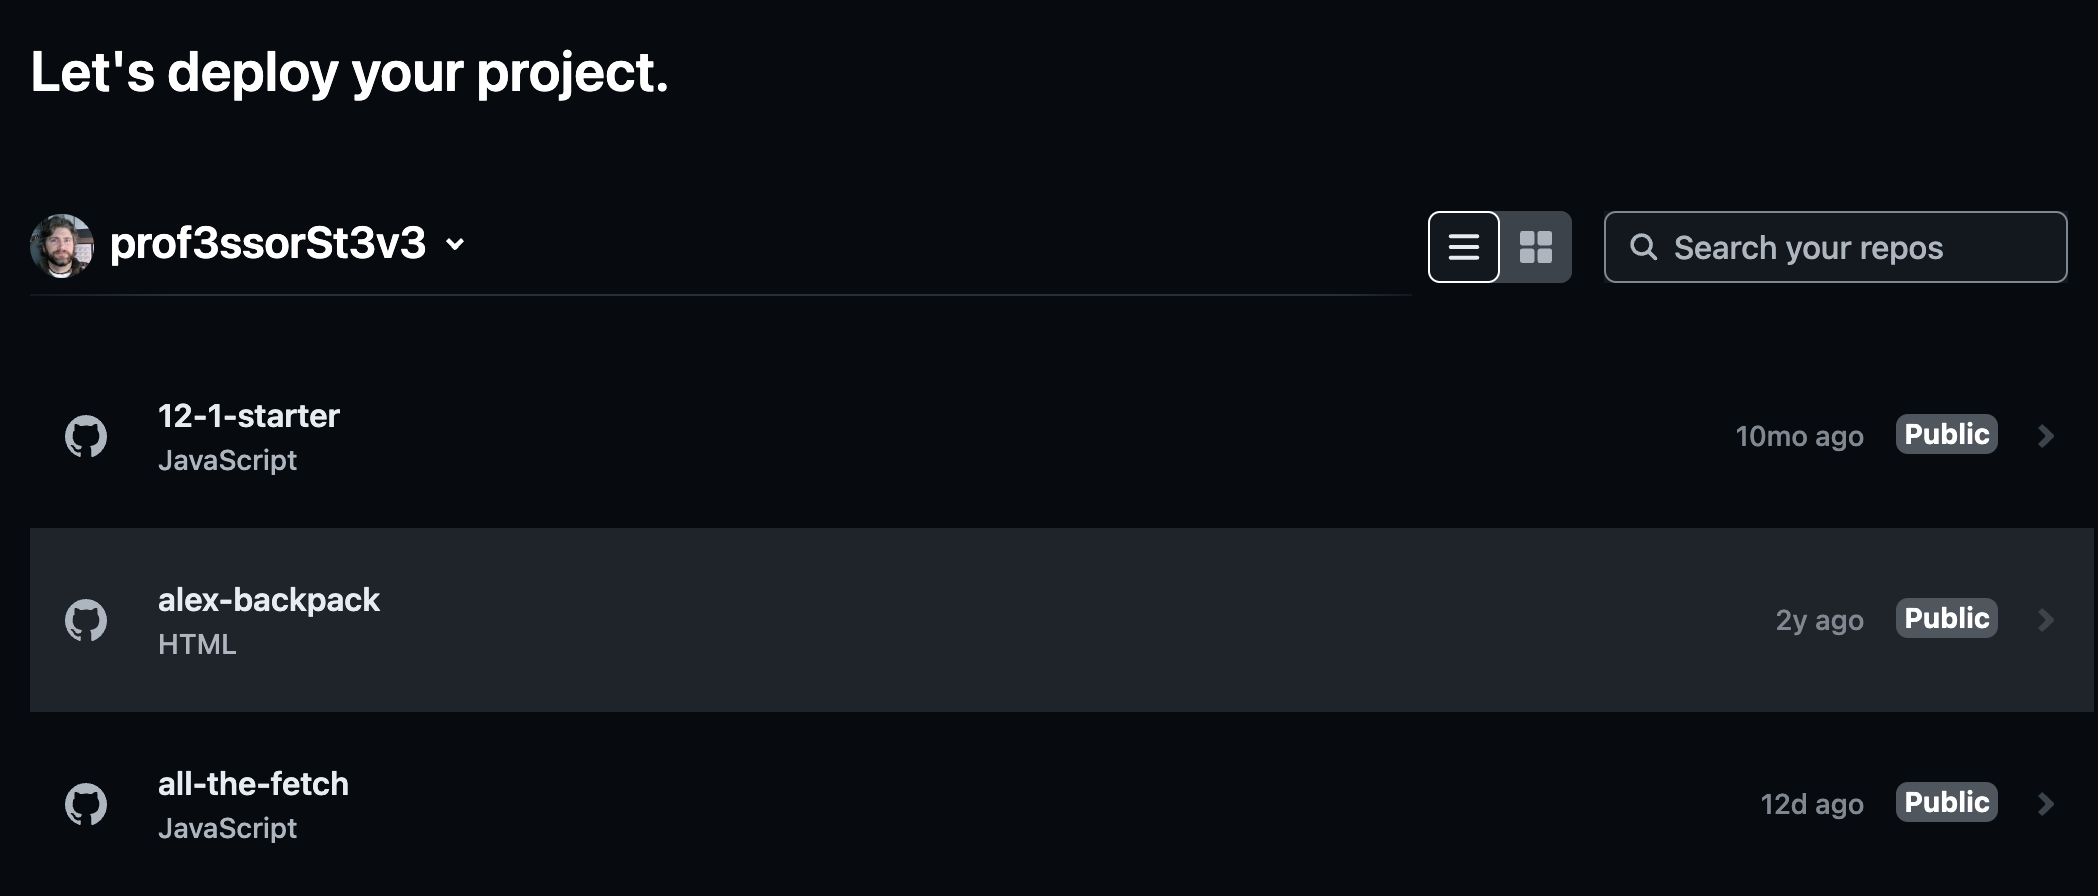
You will be shown a list of your Github projects, scroll to the repo you want to import and click the associated import button.
The first time you import a project you will get prompted to allow Vercel to access your Github account. At this point you can give Vercel access to all your repos or just one. Then repeat the access with each project.
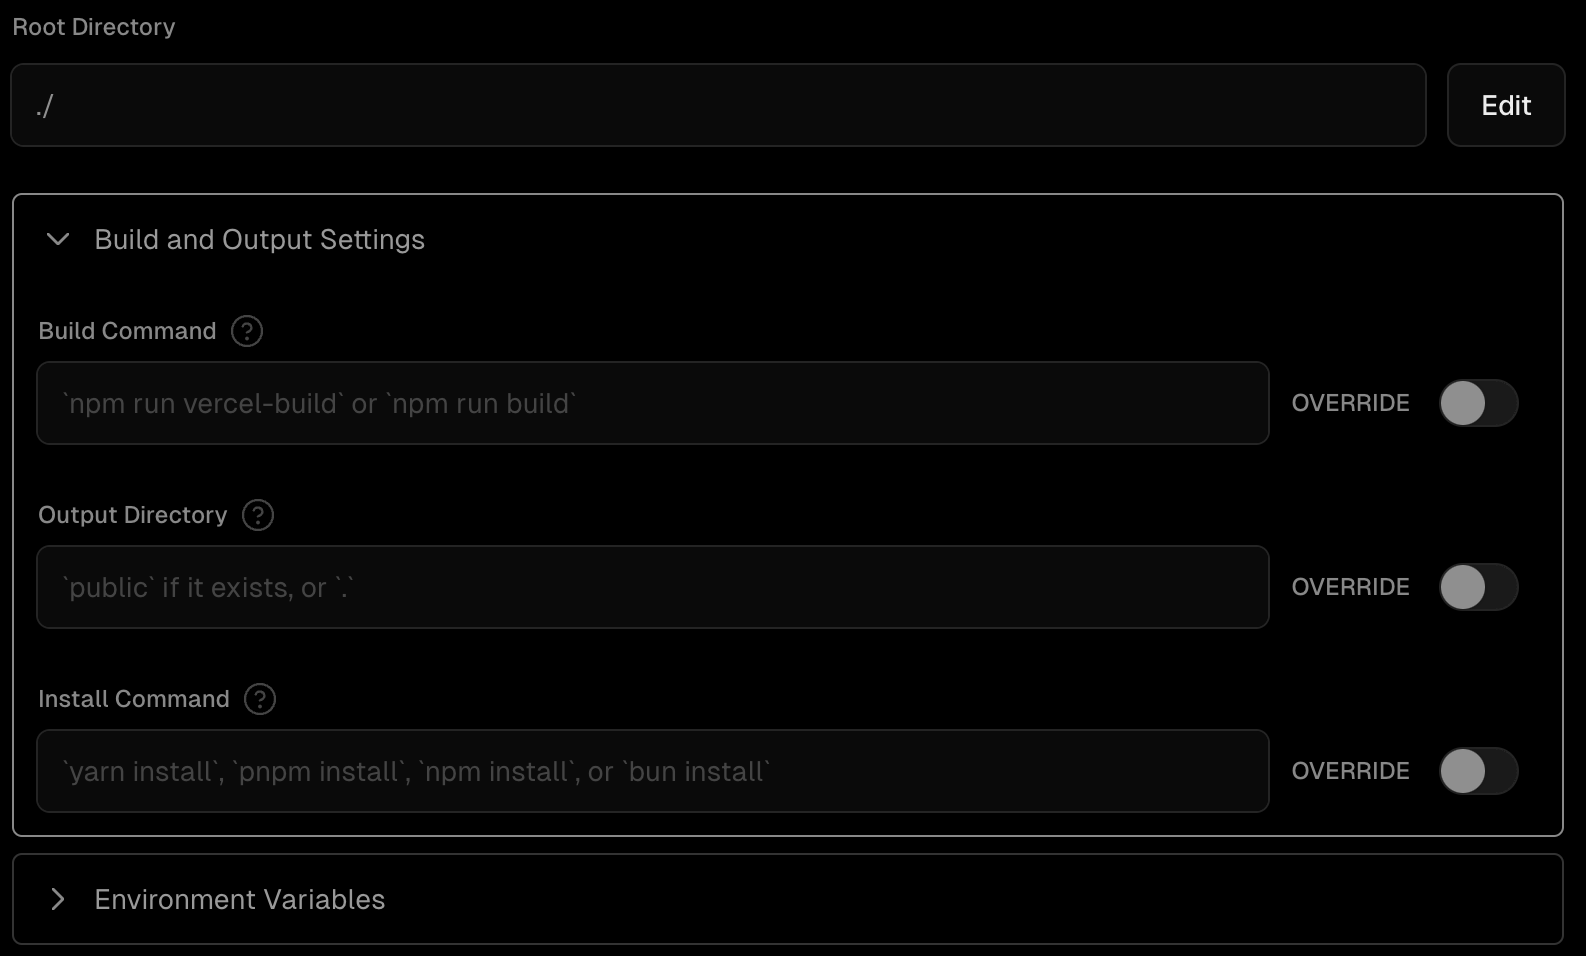
After the import step you can configure the settings for your project. This means deciding on a name for the project, telling Vercel which folder to use as the contents for the website, adding a build command if needed, and adding any environment variables that you want to use.
Then you can click the deploy button to make your site live.
From this point on, each time you push a new commit to your GitHub repository, Vercel will be aware and will copy the files from Github to the Vercel server. If you have a build command then it
will run at this point. If there is no build command then the site will be live once the files are copied.
# Render
Another hosting site that developers use is called Render - https://dashboard.render.com/ (opens new window). You can use Github to signup for an account here too.
One extra thing that Render supports is the ability to run server-side NodeJS script. For this reason, you will be using Render to host your APIs for MAD9124.
It uses a similar process to Netlify and Vercel for connecting Github repositories to the hosting. When it comes to the build process and Environment variables though, you will have more to
configure. This will be discussed in more detail in MAD9124.
# ToDo This Week
To Do this week
- read all the content for modules 6.1 and 6.2
- Read through the details of the PWA Project.
- Finish your Hybrid Web Component exercise